My sister-in-law and I are only 1 month apart!
My brother, sister-in-law, two nieces Helen and Lily, and my husband.
Me and my hubby
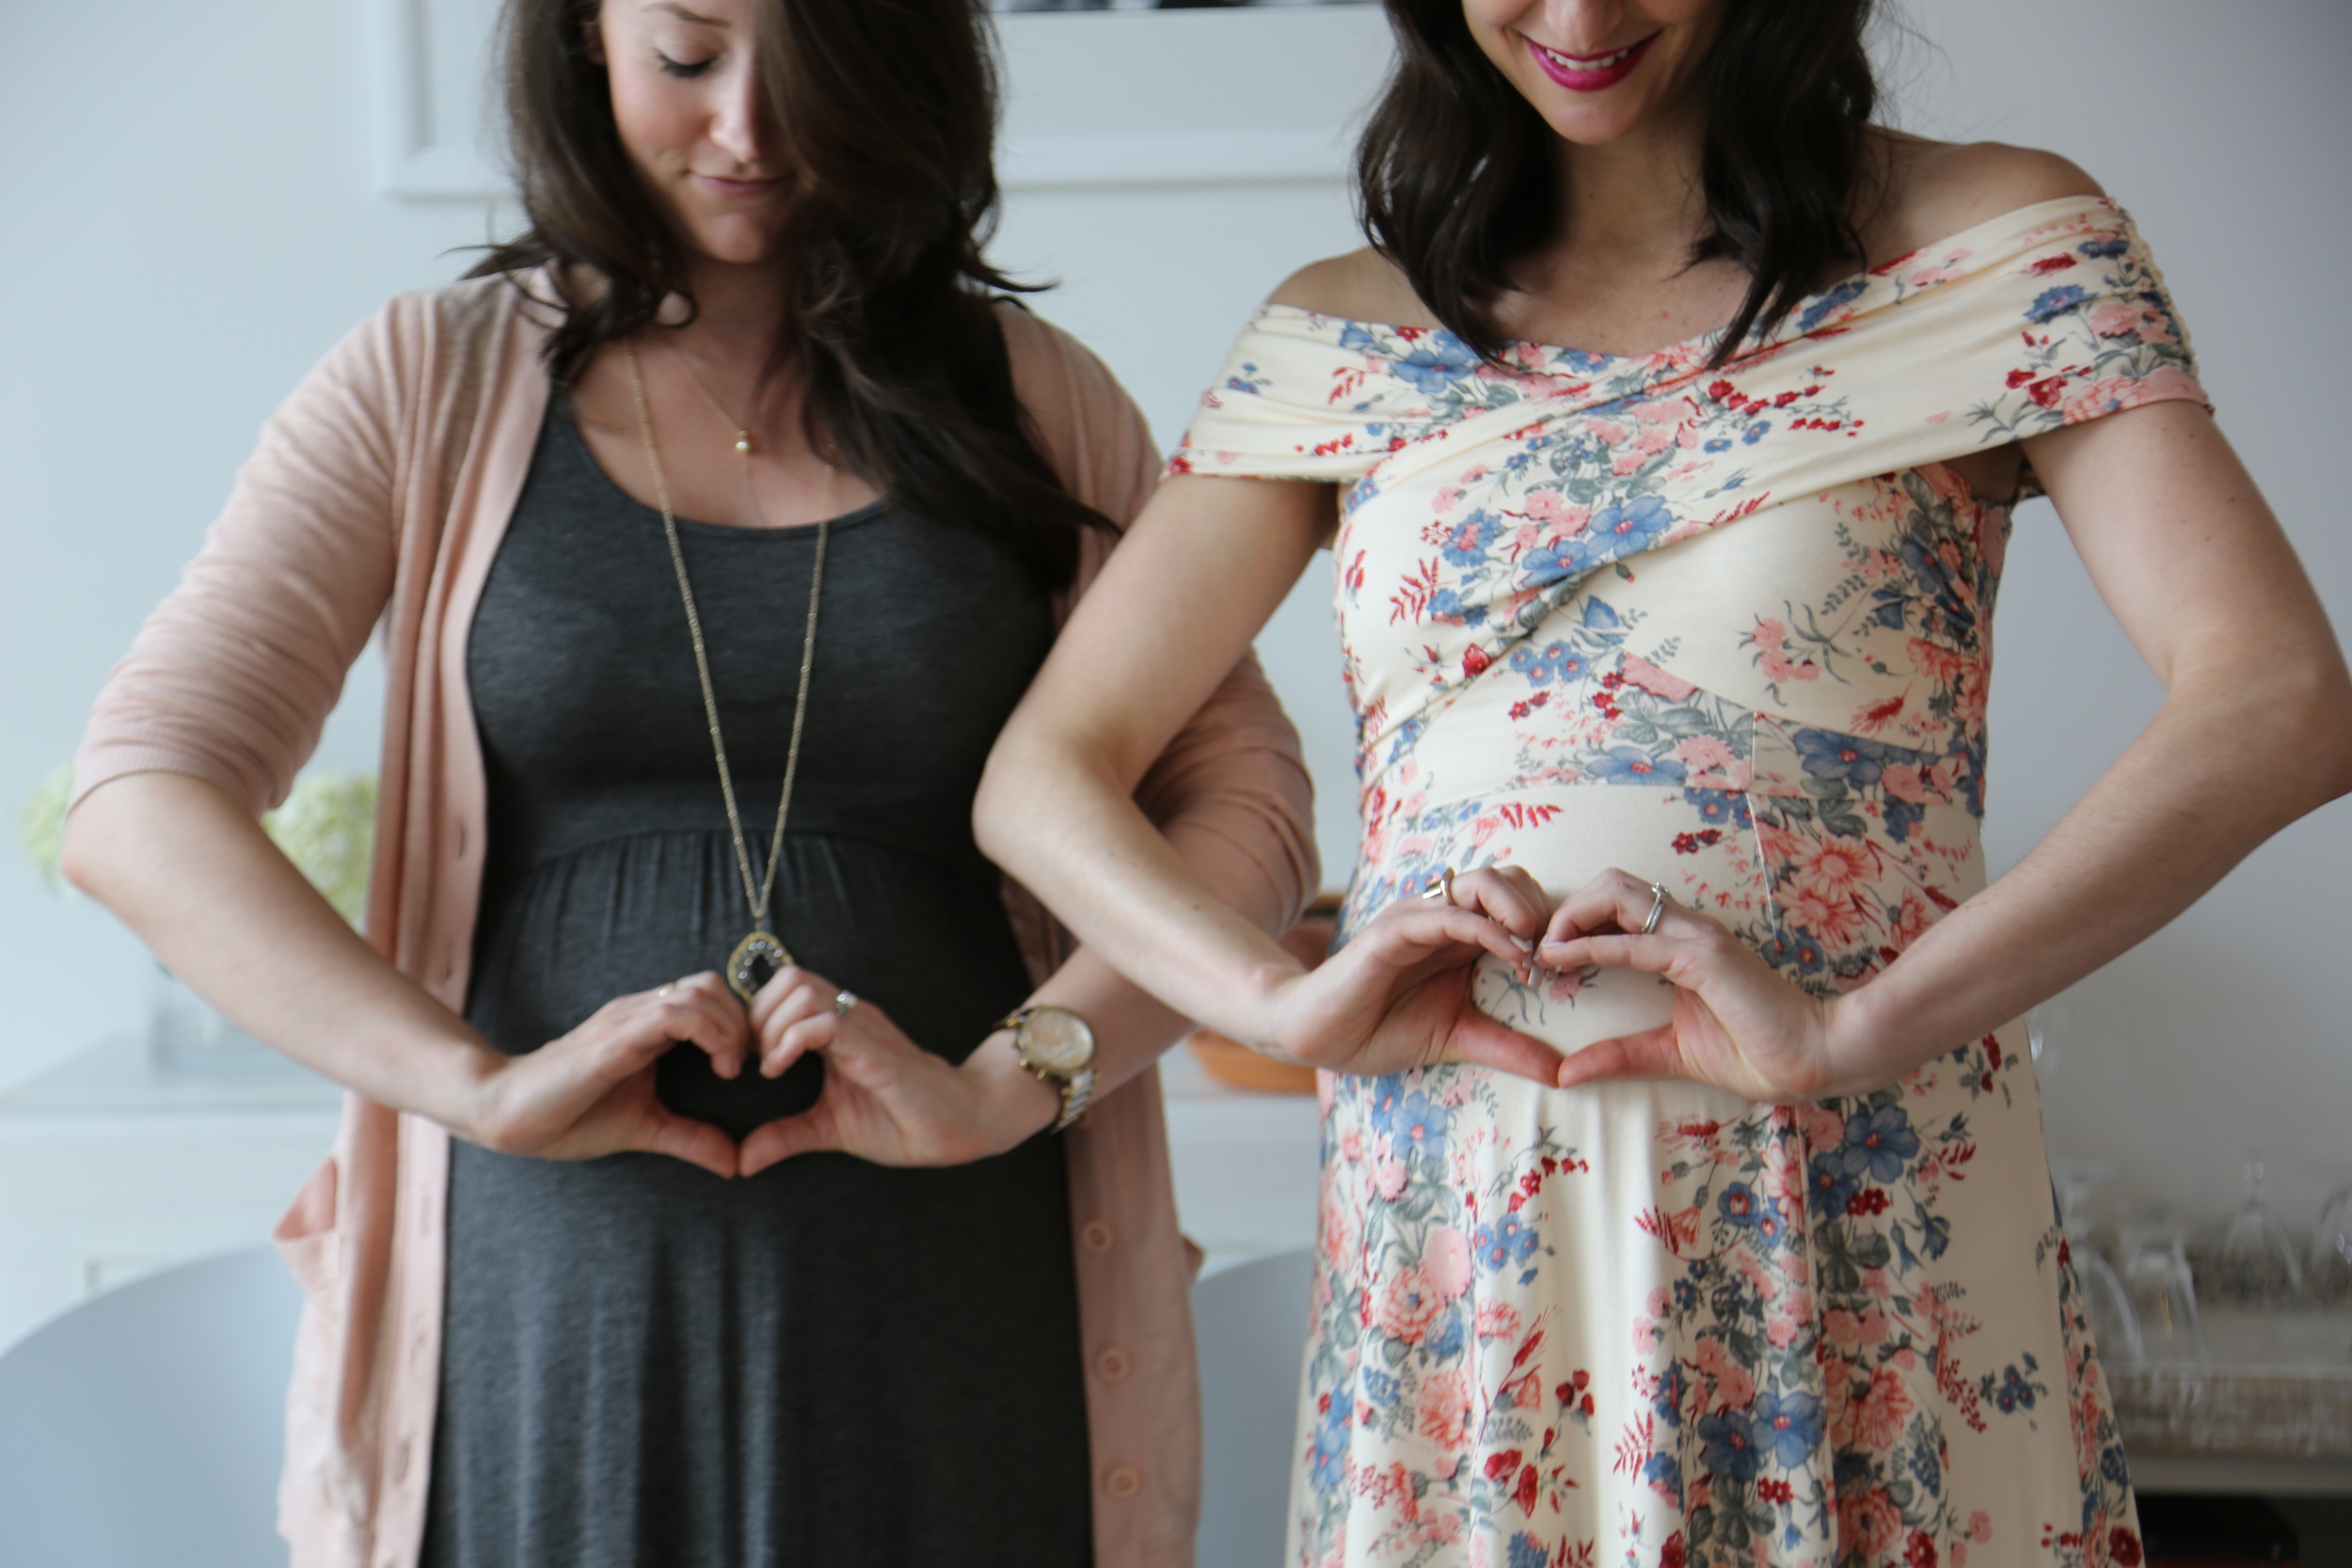
One of my dear friends and I are only 4 days apart! :) These little girls are bound to be besties.
When I first laid my eyes on this off-the-shoulder floral dress, I was in love. I have been obsessed with vintage floral patterns lately and have actually been wanting to incorporate that style into my nursery, so I knew this dress would be perfect for my baby showers. I loved it so much that I ended up wearing it for both my FL and NYC showers. I'm almost a little embarrassed to tell you it's from ASOS again, haha! But it's true! :) And only $57! Shop here.
A lot of people have been asking me how I made this floral E letter for the nursery so I thought I'd share my very easy DIY tips. And trust me, I am not a DIY person but when I saw this idea on Pinterest, I thought - Hey, I can do this! It's actually a lot easier than you'd think! I just went to Michaels and bought a variety of fake flowers in the color scheme I wanted. I used this gold letter E that my friend bought me for my shower (also sold at Michaels). The key is you want the letter to either be a box or be concave (not flat). I was told you could use a hot glue gun or tacky glue to secure the flowers. I went with tacky glue because it was cheaper. The flower buds were super easy to pull off the stems (no cutting involved) and then I just arranged them in the order I wanted. I took a picture for reference and then glued down small sections at a time. And ta-da! That's it! I absolutely love it and I have to say, I'm pretty proud of myself! Haha. I can't wait to make it a statement piece in my nursery.